How to set up Smart DNS on XBOX One
This tutorial will show you how to set up Smart DNS on Windows XP using the SmartyDNS services. If you don’t have a SmartyDNS account, you can try our services for free for 3 days.
Here are the steps you should follow:
-
Part I. Validate your IP Address.
If you have validated your IP address, skip this step and go to Part II of this tutorial.
- Sign in to Your Account on our website and go to Setup -> Validate Your IP Address.
-
Click the Validate IP button (1).
Your IP address have to be validated every time it changes. If Smart DNS is not functioning, make sure your IP is validated by following steps 1-4.
If you see the “Your IP address has been validated!” message, you can go to Part II from this tutorial.
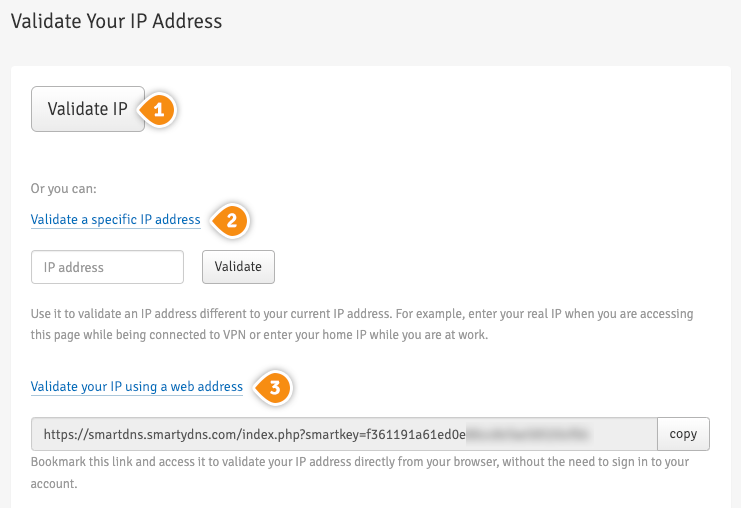
You can Validate a specific IP address (2). Use it to validate an IP address different to your current IP address. For example, enter your real IP when you are accessing this page while being connected to VPN or enter your home IP while you are at work.
Another option to validate your IP address is to Validate your IP using a web address (3). By choosing this option you don’t have to sign in to your account on our website each time you want to validate the IP address. By adding this link to your browser favorites / bookmarks your IP address will be validated each time you load this URL into your browser.
It is important to not share the Validate IP Link with anyone! It is particular and unique for every single client. If you give or share it with other people, your Smart DNS service won’t be working.
-
Part II. Change your XBOX DNS server addresses
This has to be done only once.
Before you switch to our DNS addresses, make sure you write down your current DNS addresses, so you can keep these numbers in case you need to get back to your original settings. If your original configuration were set to “Automatic”, just change your DNS settings back to “Automatic” in order to get back to your original settings.-
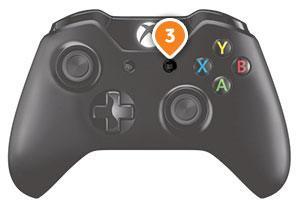
Press on “Settings” button (3) on your controller.
-
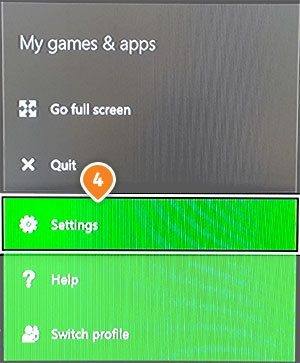
Choose “Settings” (4).
-
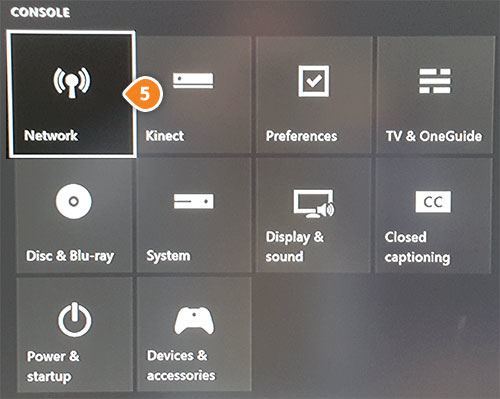
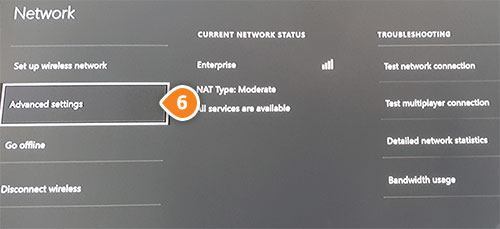
Then click on “Network” (5).
-
Choose “Advanced Settings” (6).
-
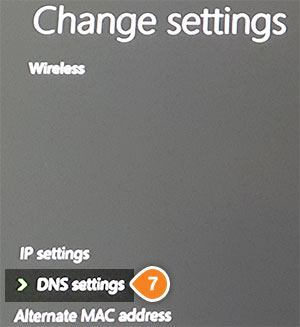
Then click on “DNS Settings” (7).
-
Choose “Manual” (8).

-
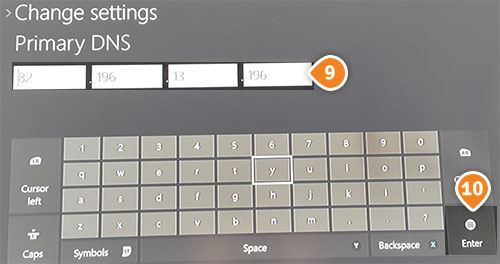
Enter SmartyDNS primary DNS Server (9) address and click “Enter” (10).
You can find the entire list of all available DNS addresses by signing in to your account on our website, by going to Setup -> DNS Servers.
If you don’t have a SmartyDNS account, you can try our services for free for 3 days.
-
Choose Secondary DNS Server and enter SmartyDNS secondary DNS Server address (11) and click “Enter” (12) again.

-
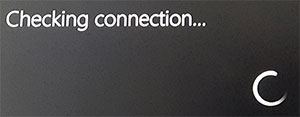
Now your XBOX One will test your network connection.
-
If your XBOX One will pass the connection test it will ask you to click on “Continue” (13).

-
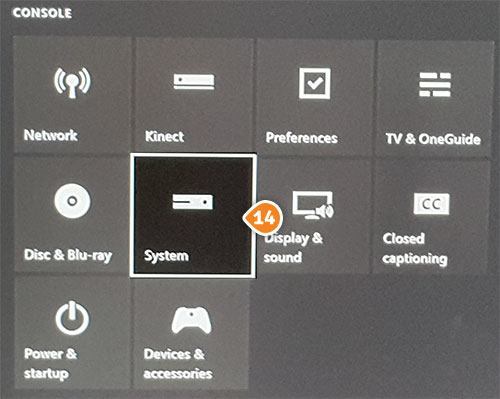
Now you will have to change your location. Please skip this step if you’ve already done it. Go again to “Settings” (step 1 and 2). Choose “System” (14).
-
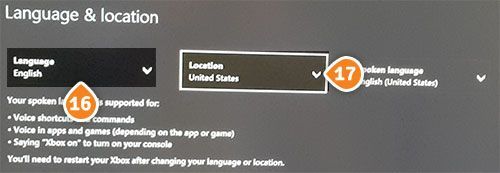
Choose “Language and Location” tab (15).

-
Now choose “English” in “Languages” (16). Click on Location (17).
-
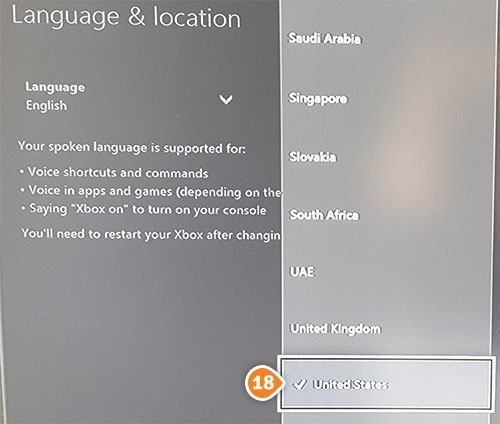
Change your location to “United States” (18) if you want to access US applications or “United Kingdom” for UK applications.
-
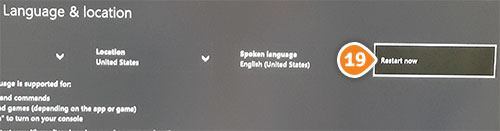
Click on “Restart now” (19) to restart your XBOX One and you are done.
-